
Installation Guide
European Plate Installation
PLEASE SELECT YOUR STYLE OF HOLDER

black holder

chrome holder
Installations Guide for European Plate with
Black License Plate Holder
Installations Guide for European rectangular size (4.38”/110 MM high x 20.4”/520 Mm wide)
front license plates
We recommend our Univercal License Plate Holder for each of all rectangular Europen license plates.
Tools needed:
1 – Screwdriver – Phillips Tip

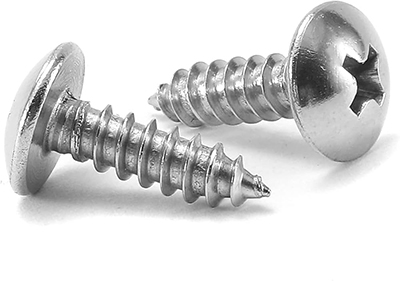
Mounting Assembly Included:
2 – Phillips Head Screws (C)
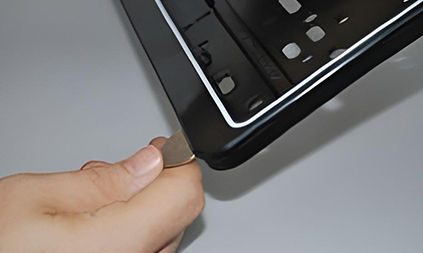
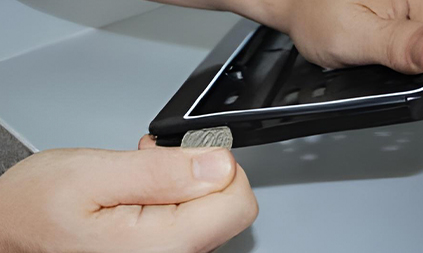
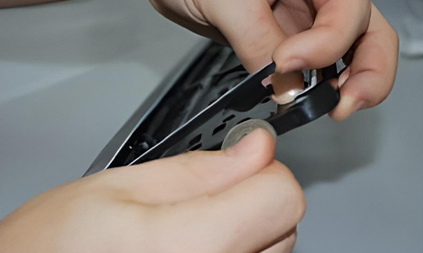
Step 1
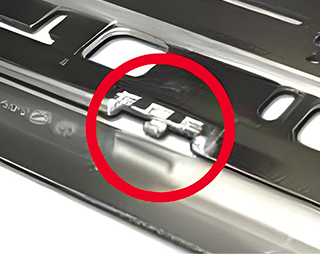
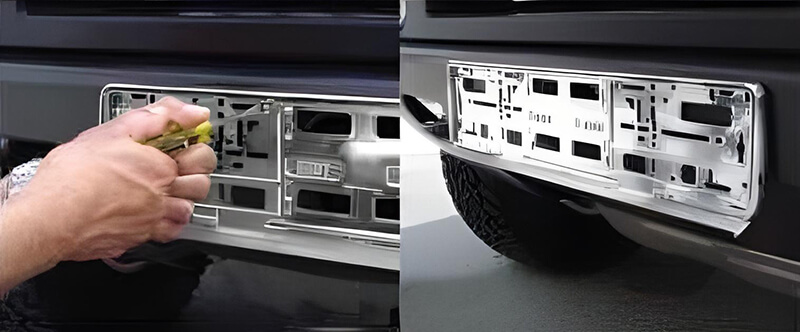
Using a coin (quarter) insert in notch on bottom ridge of plate holder and gently pry the hinged dor open.
Step 2
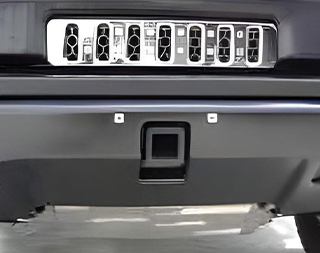
Check to see if the screw holes on your vehicles’s bumper matches the pre-drilled holes on the Universal license plate holder.
WARNING: Do not attempt to drill holes on your vehicle’s bumber since this may damage airbag or other sensors and/or cause airbags to deploy. If you encounter difficulty during installation, please contact an authorized vehicle dealer of the brand of your vehicle.
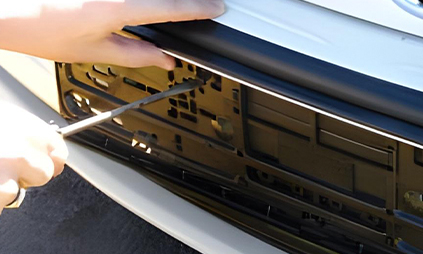
Step 3
Place Universal Plate Holder (with hinged door open) on your vehicle’s bumper or in the license plate cavity. Using a Phillips tip screwdriver, gently attach Universal license plate holder to vehicle with Phillips head screws (C). If the manufacturer of your vehicle provides screws, please use these instead of included Phillips Head screws (C). Please make sure that Univercal license plate holder is securely attached to your vehicle.
Step 4
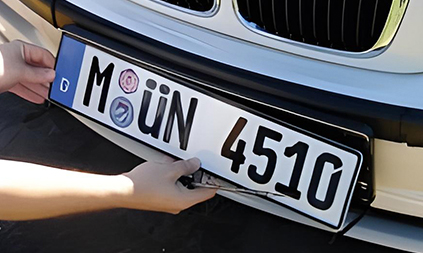
Insert and align your European license plate into the Universal license plate holder and close-hinged door (clicks can be heard when door is shut properly). Visually make sure that your European license plate is secured in Universal Plate Holder.

Installations Guide for European Plate with
chrome License Plate Holder
Installations Guide for European rectangular size (4.38”/110 MM high x 20.4”/520 Mm wide)
front license plates
We recommend our Univercal License Plate Holder for each of all rectangular Europen license plates.
Tools needed:
1 – Screwdriver – Phillips Tip
Mounting Assembly Included:
2 – Phillips Head Screws (C)
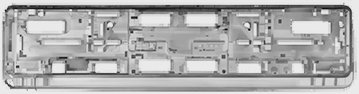
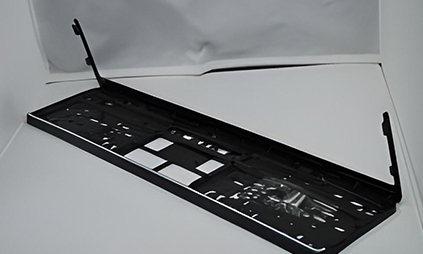
parts included:
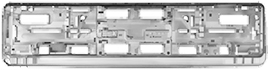
1 – Main Assembly
2 – Phillips Head Screws (C)

Step 1
Align and attach Door Assembly to the Main Assembly.
Step 2
Check to see if the screw holes on your vehicles’s bumper matches the pre-drilled holes on the Universal license plate holder.
WARNING: Do not attempt to drill holes on your vehicle’s bumber since this may damage airbag or other sensors and/or cause airbags to deploy. If you encounter difficulty during installation, please contact an authorized vehicle dealer of the brand of your vehicle.
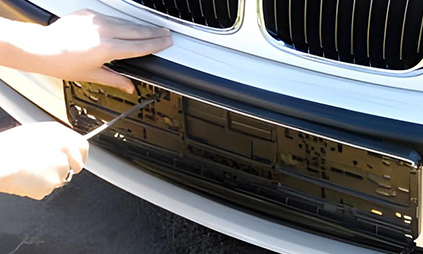
Step 3
Align Holder with holes, and use provided screws to attach the holder to your vehicle.


Step 4
Make sure the hinged door is open. Take your European plate, and insert in into the slot located on the left side.
Step 5
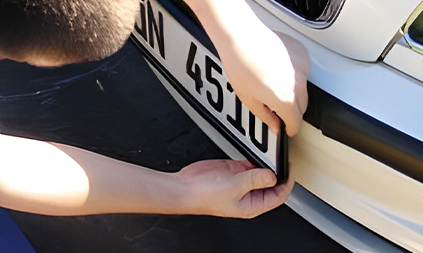
Slightly bend plate just enough so that you can insert the right side of the plate into the slot on the other side of the holder. Once both sides are in their slots, push firmly on the middle of the plate, to make sure it is sitting properly in the holder.
Step 6
Once the plate is firmly seated, close the hinged door on the front of the holder, It will click and lock into place.

sign-up to receive